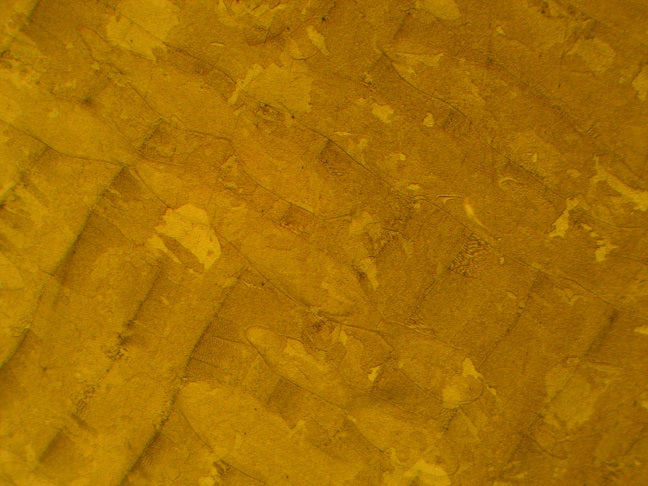
Additive Manufactured Samples - A Guide To Sample Preparation
Metallography is a critical aspect of the metallurgical analysis and quality control of materials, including those produced through additive manufacturing (AM). It involves the study of a material's microstructure by examining its constituent phases, grain structures, inclusions, and defects at a microscopic level. Metallography helps in understanding the material's mechanical properties, performance, and overall quality. Here's a more detailed overview of metallography and sample preparation in the context of AM:
Sample Preparation:
Sample preparation is a crucial step in metallography, ensuring that the material being analyzed is representative and properly prepared for microscopic examination. In AM, samples are typically extracted from the 3D-printed part.
The sample preparation process includes the following steps:
- Sectioning: A sample is cut from the AM part using an abrasive saw or precision cutting saw. When available, a wire EDM (Electrical Discharge Machining) process can also be used.
- Mounting: The cut sample is mounted in a casting epoxy resin to provide support and maintain its integrity during subsequent steps. For specimens that have intricate geometries, it’s recommend to use a vacuum impregnation chamber during mounting. Vacuum mounting allows resin to penetrate small voids in the specimen, and removes undesirable air bubbles.
- Grinding: The sample is then put through a series of coarse, intermediate, and fine grinding steps to prepare the surface for polishing. Common grinding mediums include Silicon Carbide (SiC) grinding papers, diamond grinding discs, or large particle diamond abrasives on polishing cloths and pads.
- Polishing: Polishing is performed using a series of fine abrasive compounds on polishing cloths or pads to obtain a flat, deformation-free surface, suitable for microscopy. Common polishing compounds include diamond suspensions/paste, alumina suspensions/powder, colloidal silica, and many others. These polishing compounds are used in combination with a polishing cloth or pad that is selected based on material and abrasive choice.
- Etching: Etching is the final step in sample preparation, and it involves applying a chemical reagent (etchant) to reveal the microstructure by selectively attacking different phases of the material. The choice of etchant depends on the material being analyzed and the specific features of interest.
Discover more about OnPoint Abrasives metallographic consumables here.
Microscopy:
Once the sample is properly prepared, it can be examined under an optical or electron microscope to analyze its microstructure. The choice of microscope depends on the desired level of magnification and the specific features being studied.
Optical Microscopy: Optical microscopes use visible light to observe the microstructure. They are suitable for lower magnification and provide information on grain size, grain boundaries, and overall microstructure.
Scanning Electron Microscopy (SEM): SEM provides higher magnification and allows for detailed imaging of the surface morphology, as well as the analysis of features at the nanoscale. It can also provide compositional information through energy-dispersive X-ray spectroscopy (EDS).
Transmission Electron Microscopy (TEM): TEM is used for extremely high-resolution imaging and analysis of internal structures, such as individual grains, dislocations, and defects. It provides information about crystallography and defects at the atomic scale.
Image Analysis and Interpretation:
After microscopy, captured images are analyzed to extract quantitative data about grain size, grain distribution, and other microstructural features. Specialized software is often used for image analysis.
Reporting and Documentation:
The results of the metallographic analysis, including micrographs and data, are typically documented in a report. This information is essential for assessing the material's quality, verifying its compliance with specifications, and making decisions about its use in applications.
Overall, metallography and sample preparation are essential tools for understanding the microstructure of materials produced through additive manufacturing, helping to ensure the quality and performance of 3D-printed parts. Proper sample preparation and analysis can also aid in diagnosing issues, such as defects or anomalies, and guide process optimization for better AM outcomes.

Leave a comment